Analogue Mode (No Comp-07S is performed)
When used in analogue mode the compression measurements are
output via the serial RS232C cable, this data is read via a PC
and the supplied software, the data can then be graphed with the
software or other commercial software. Further, in analogue mode
it is possible to measure than less 0.49MPa (5 kg/cm2
or 71PSI) which is the lowest limit in digital mode.
1. When using on a fuel injected car first remove the EGI
fuse, or fuel never go to the engine.
Check the service manual if you are unsure.[Important]
This is to prevent the vehicle from starting during measurement
(EGI cars).
If the engine starts during measurement, the sensor will not only
be damaged, but detonation may occur and it can damage the
engine.
* Turn off the fuel pump (fuse is extracted), to prevent fuel
going to the engine
* Start the vehicle or crank it over to remove any residue fuel
in the system. If the car starts let it idle until it stops
(Especially carburetor engine) , turn off the ignition.
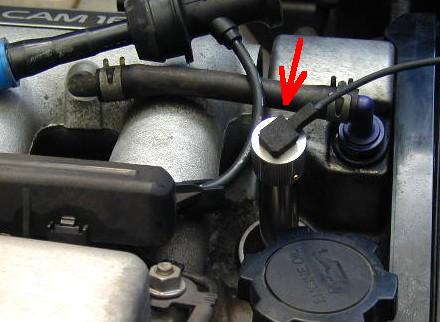
* Remove plug cords for safety but leave the plugs in.
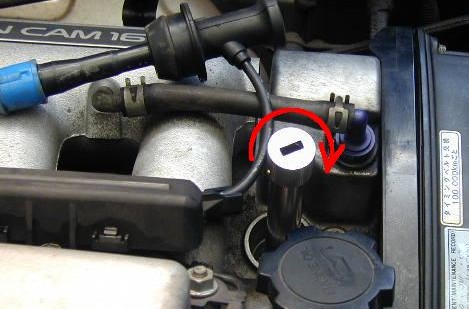
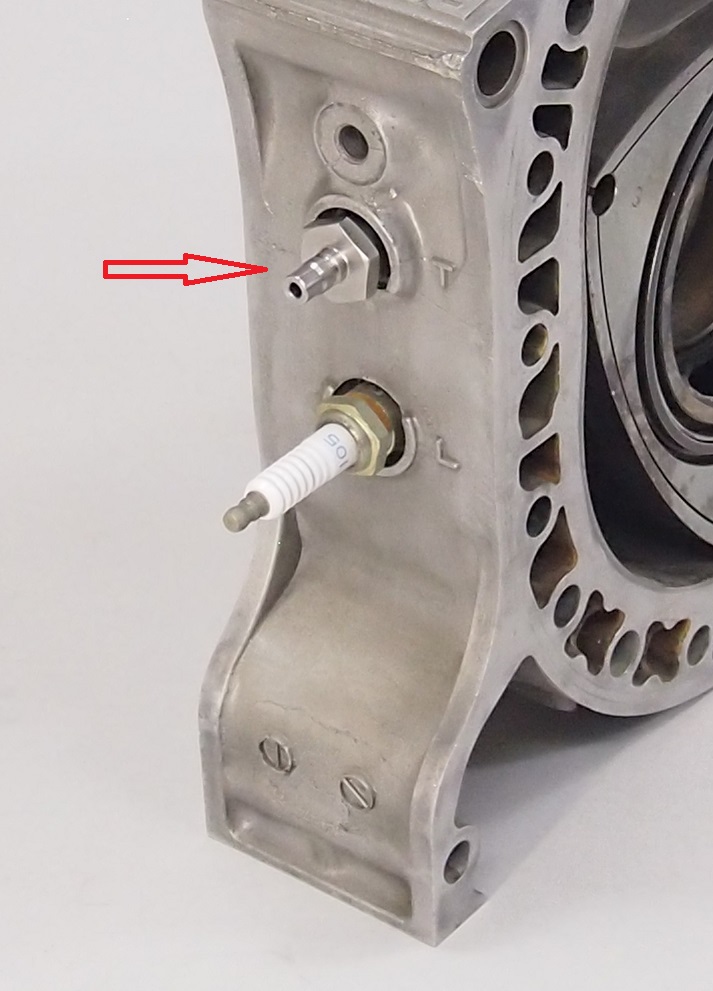
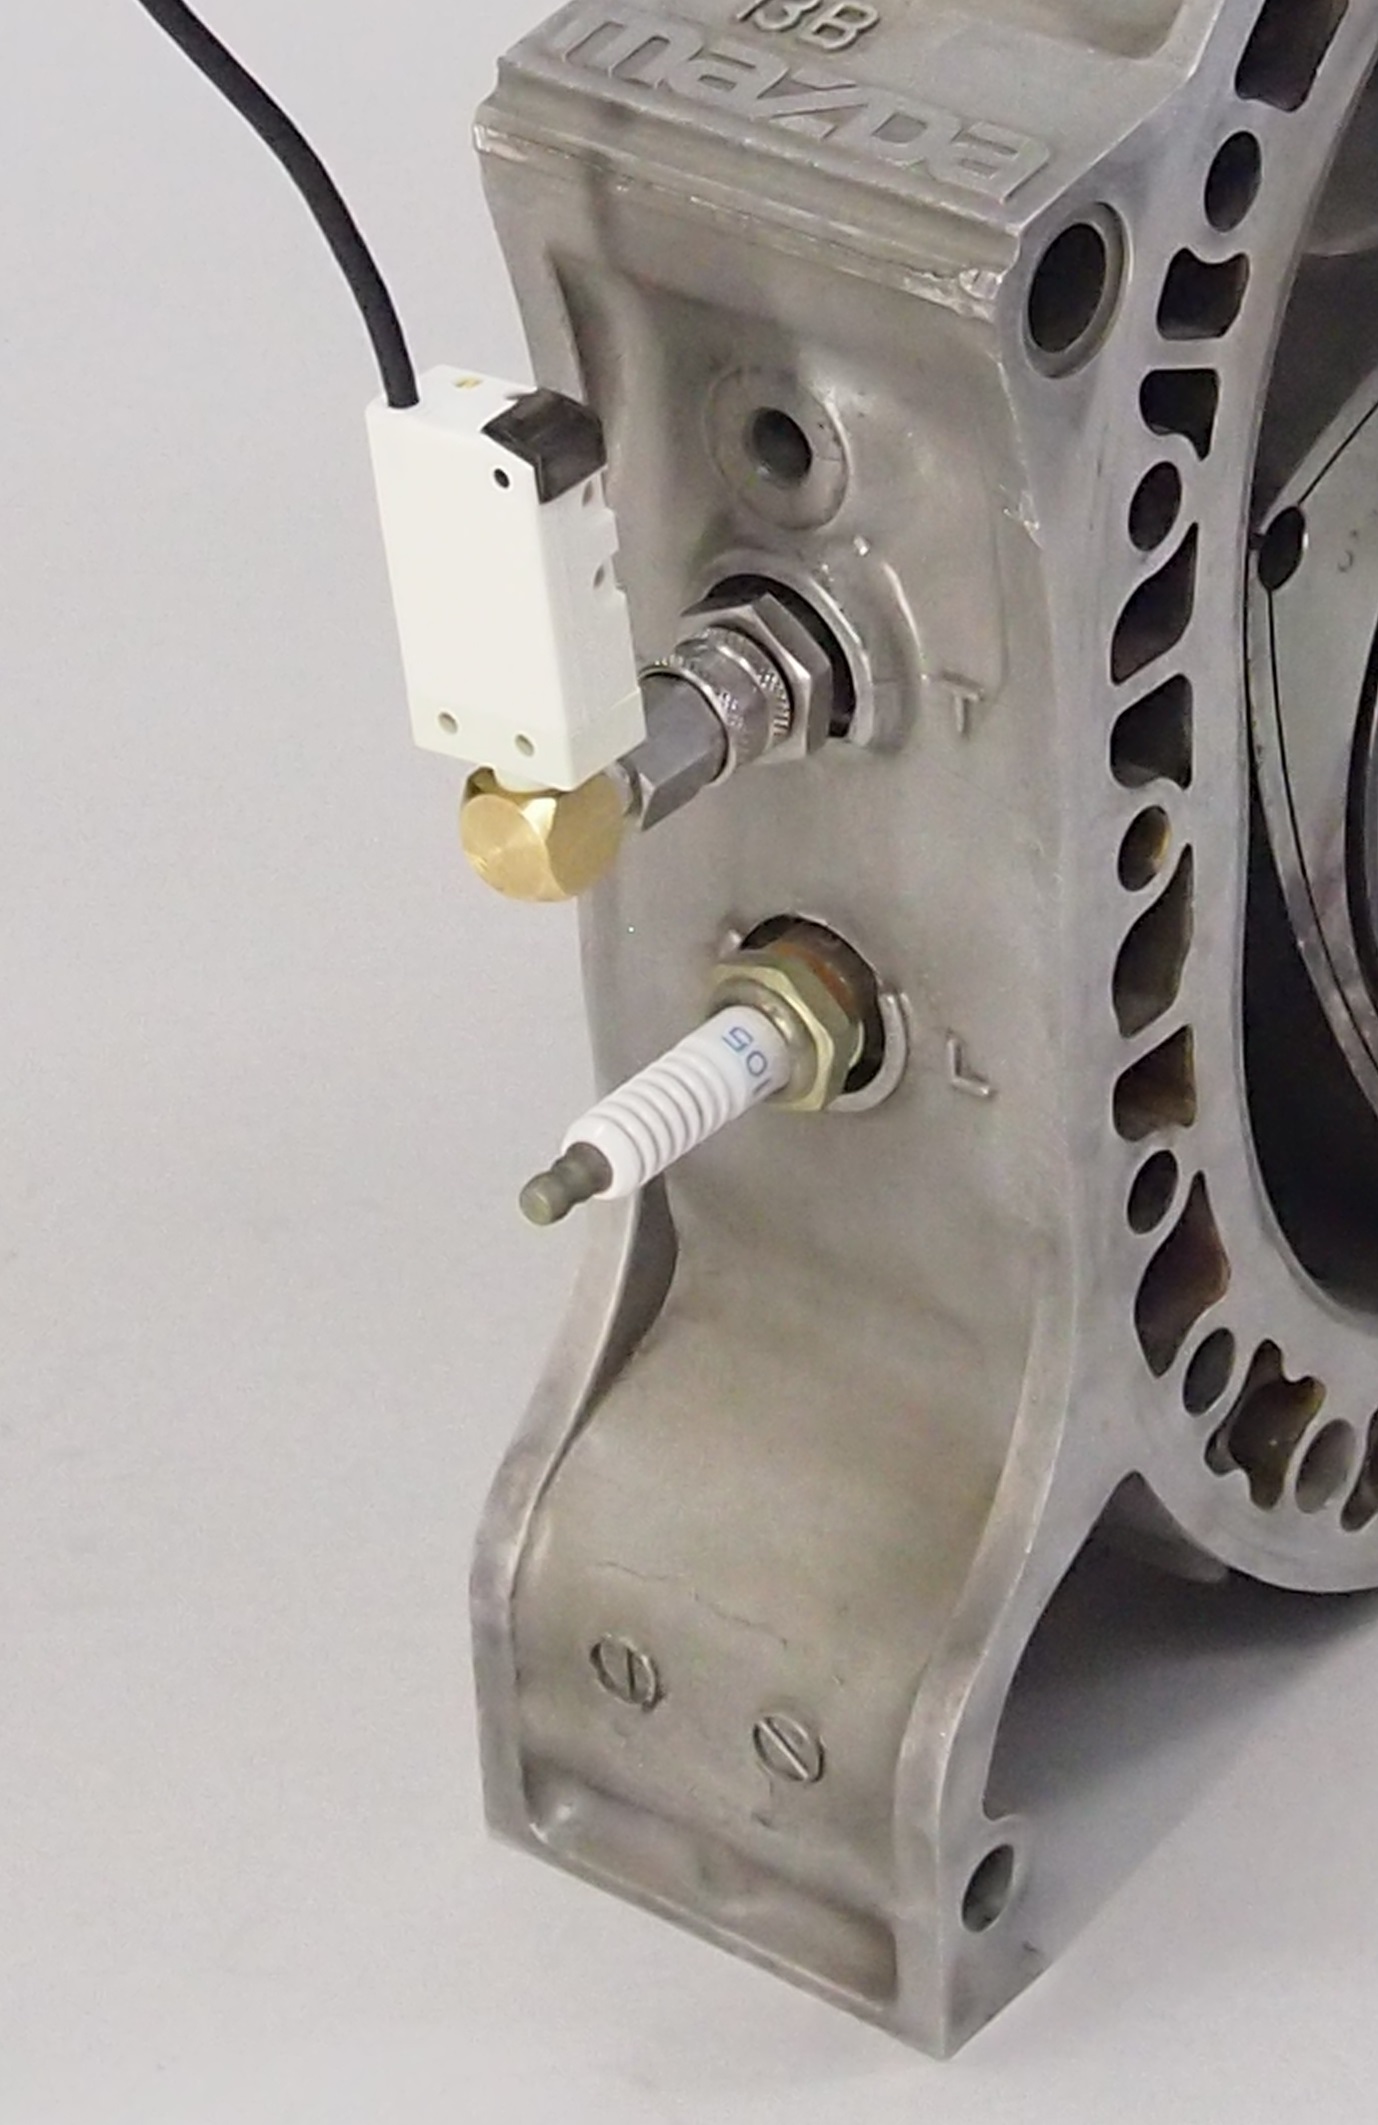
2. Remove the plug of cylinder to measure (by the side of
"T" of housing on rotary engine).
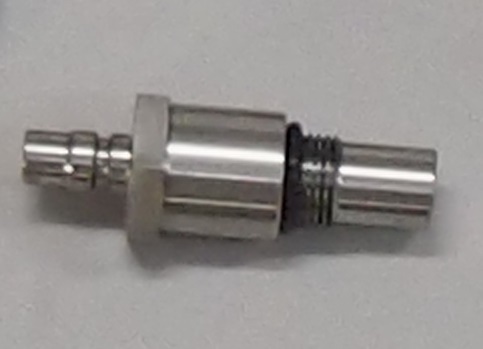
3. Screw the plug hole adaptor into the plug hole until the
o-ring is in contact with the bottom of plug hole and tighten
approximately half a revolution.
4. Slide the mode switch to "Analogue" side. (No
Comp-07S is performed)

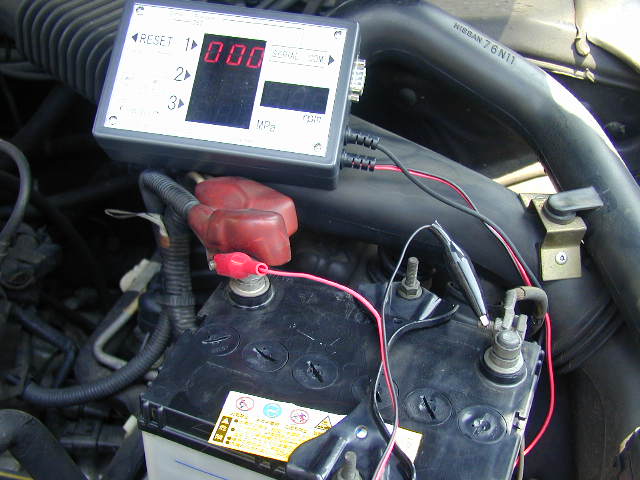
5. Clip the power supply cables to the battery (DC12V).
Clip red to "+", and black to "-".
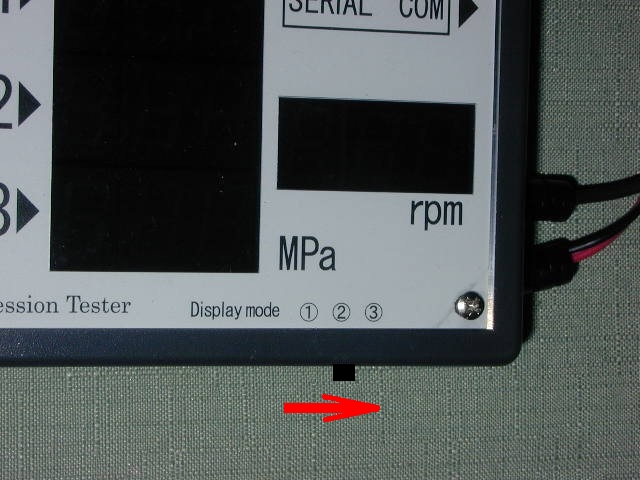
6. Select display mode switch to Pa, Kg/cm2
or PSI.
The change of a measurement unit should switch slide by sharp-end
tool as ball-point pen.
7. Connect the sensor cable to the adapter.
8. Connect the sensor cable to the tester then press the reset
switch.
9. "8"s are displayed on all display windows for approx
1 second.
10. Connect the Tester and the PC with the RS232C serial cable
and set the software to "start receiving data".
Data acquisition
11. When "000" are displayed in the #1window, fully
depress the clutch and accelerator then begin cranking.
Making sure the gear selector is in "neutral" at MT
vehicle or "park" at AT.
 Count down
"8"to"0" in RPM window while measuring.
Count down
"8"to"0" in RPM window while measuring.
12. Stop cranking when "111" are displayed on the
#3window of the tester.
13. To measure the other cylinder(s) or rotor(s)
on the engine complete the above steps from step 8 after
re-installing the adaptor as in step 2.
14. Once complete disconnect the sensor cable from the adaptor.
15. Remove the adaptor and re-install any plugs and associated
plug cords.
16. Remove the power supply cables.
17. Re-install the EGI fuse if you have removed it and prime the
fuel system - check the service manual if unsure.
Back